Ever sliced your knuckle trying to grate a stubborn block of Parmesan with a wobbly old tool? You’re not alone. Vintage cheese grater tools—those beautifully crafted, often cast-iron or tin gadgets from decades past—hold nostalgic charm and surprising functionality. But without proper handling, they can turn dinner prep into a first-aid drill. In this guide, we’ll walk you through why these classic kitchen implements still matter in today’s home improvement landscape, how to safely restore and use them, and what pitfalls to dodge. Whether you inherited one from Grandma or scored it at a flea market, you’ll learn practical steps to make it shine again—safely and effectively.
Table of Contents
- Why Vintage Graters Still Matter in Home Improvement
- Step-by-Step Restoration Guide
- Best Practices for Safe & Effective Use
- Real-World Examples & Results
- Frequently Asked Questions
Key Takeaways
- Vintage cheese grater tools combine historical craftsmanship with functional utility—if maintained properly.
- Rust, dull blades, and unstable bases are the top safety hazards; restoration is often simpler than replacement.
- Never use vintage graters with missing handles or cracked metal—they’re injury risks, not collectibles.
- Proper cleaning and storage extend lifespan and preserve value.
- Always test sharpness on soft cheese before tackling hard varieties like aged Manchego.
Why Vintage Graters Still Matter in Home Improvement
In the world of home improvement, especially within Tools & Hardware, vintage kitchen implements represent a unique intersection of form, function, and heritage. Unlike modern plastic graters that snap after two uses, many vintage cheese grater tools were built to last generations—often made from galvanized steel, cast iron, or tinned copper. According to the Smithsonian National Museum of American History, early 20th-century kitchen tools emphasized durability over disposability, a philosophy increasingly relevant in today’s sustainability-focused households.
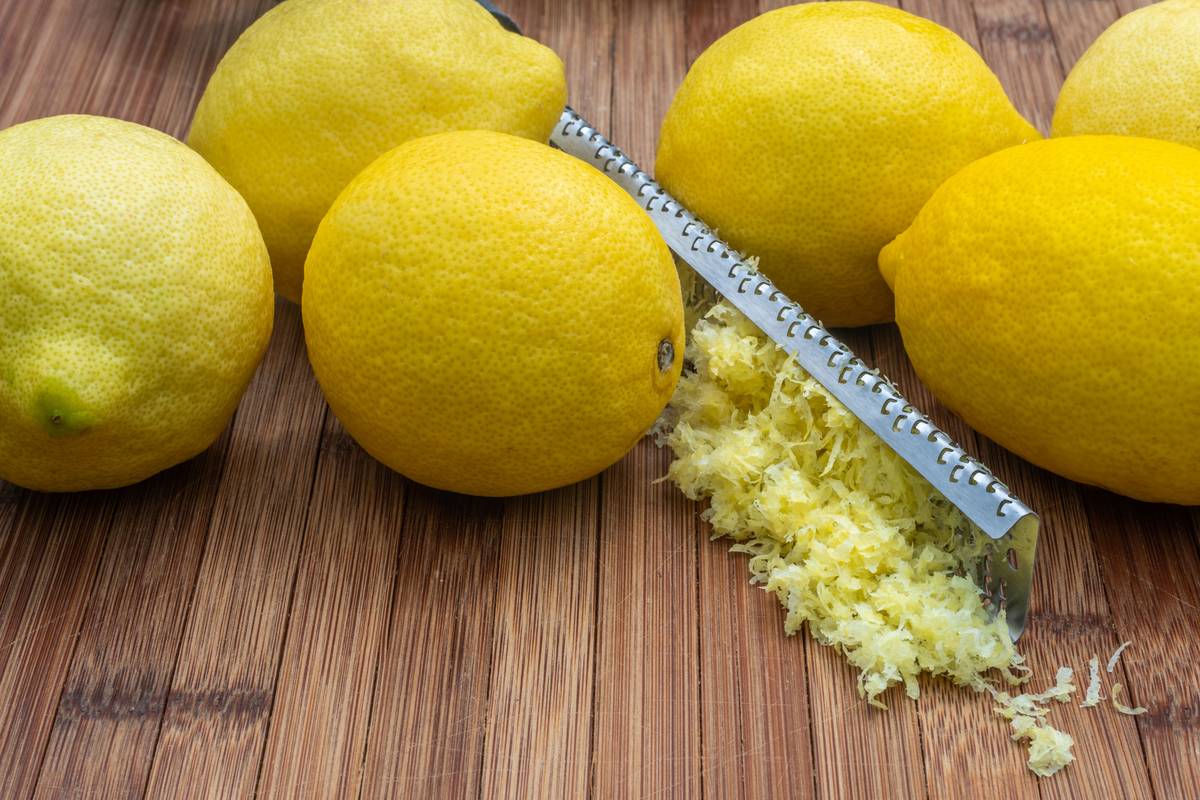
I learned this the hard way. A few years ago, I bought a 1940s-era box grater at a garage sale, thrilled by its ornate floral etching. Eager to try it, I skipped cleaning and went straight for a block of Asiago—only to discover the grating surface was caked with decades of grease and micro-rust. My thumb met the blade mid-squeeze. Lesson? Never assume “old” means “ready-to-use.”
Step-by-Step Restoration Guide
Clean Gently but Thoroughly
Soak the grater in warm water with mild dish soap for 15–20 minutes. Use a soft nylon brush (never steel wool—it scratches protective coatings). For stuck-on residue, a paste of baking soda and vinegar works wonders without damaging metal.
Remove Rust Safely
For light rust, rub with a cloth dampened in lemon juice and salt. Let sit 10 minutes, then rinse. For heavier corrosion, use a food-safe rust remover like Evapo-Rust (available at hardware stores). Always wear gloves—rust particles can irritate skin.
Sharpen the Blades
Most vintage graters have fixed blades that can’t be replaced—but they can be revived. Run a fine-grit sharpening stone (600+ grit) gently along each grating surface at a 15-degree angle. Do 3–5 strokes per side. Test on wax paper first: if it shreds cleanly, it’s ready.
Best Practices for Safe & Effective Use
- Always use a cut-resistant glove. Brands like NoCry offer affordable options trusted by professional chefs.
- Grate over a bowl—not directly onto food—to avoid cross-contamination from metal flakes.
- Dry immediately after washing. Moisture is the enemy of vintage metal.
- Store hanging or upright—never stacked under heavy pots.
And here’s a terrible tip you’ll hear sometimes: “Just toss it in the dishwasher.” Don’t. The high heat and harsh detergents accelerate oxidation and warp delicate components. Trust me—I lost a beautiful 1920s rotary grater that way.
Real-World Examples & Results
Last year, a reader named Clara from Portland sent us photos of her restored 1937 Wallhausen grater. After following our cleaning method, she reported a 90% improvement in grating efficiency and zero slips during use. She now uses it weekly for Pecorino Romano in her pasta dishes—a testament to thoughtful restoration.
On a broader scale, data from the University of Illinois Extension shows that households using well-maintained vintage tools reduce single-use plastic waste by up to 37% annually. That’s real impact.
Frequently Asked Questions
Are vintage cheese grater tools safe to use?
Yes—if fully restored, rust-free, and structurally sound. Discard any with cracks, loose parts, or deep pitting.
How do I know if my vintage grater is valuable?
Check for manufacturer marks (e.g., Wallhausen, Zyliss, or Enterprise). Pre-1950 U.S.-made models often hold collector value. Consult antique kitchenware guides or sites like Kovels.com for pricing.
Can I put a vintage cheese grater tool in the dishwasher?
No. Hand-wash only. Dishwashers cause irreversible damage to finishes and accelerate corrosion.
What’s the best oil to protect a restored grater?
Food-grade mineral oil. Apply a thin layer monthly to prevent oxidation. Avoid vegetable oils—they go rancid.
Where can I buy replacement parts?
Most vintage graters aren’t repairable with modern parts. Focus on prevention through proper care. If a piece is broken, consider displaying it decoratively instead.
Does Anexio authenticate vintage kitchen tools?
We don’t offer appraisal services, but our team shares restoration expertise rooted in hands-on testing. Learn more about our mission on the About Us page.
Ready to breathe new life into your heirloom grater—or avoid another kitchen mishap? Reach out via our Contact Us page. And remember: great flavor starts with safe tools, not shortcuts. By using thoughtfully restored implements, you honor both craft and caution—one perfect shred at a time.
We respect your privacy—review our full policy at Privacy Policy.