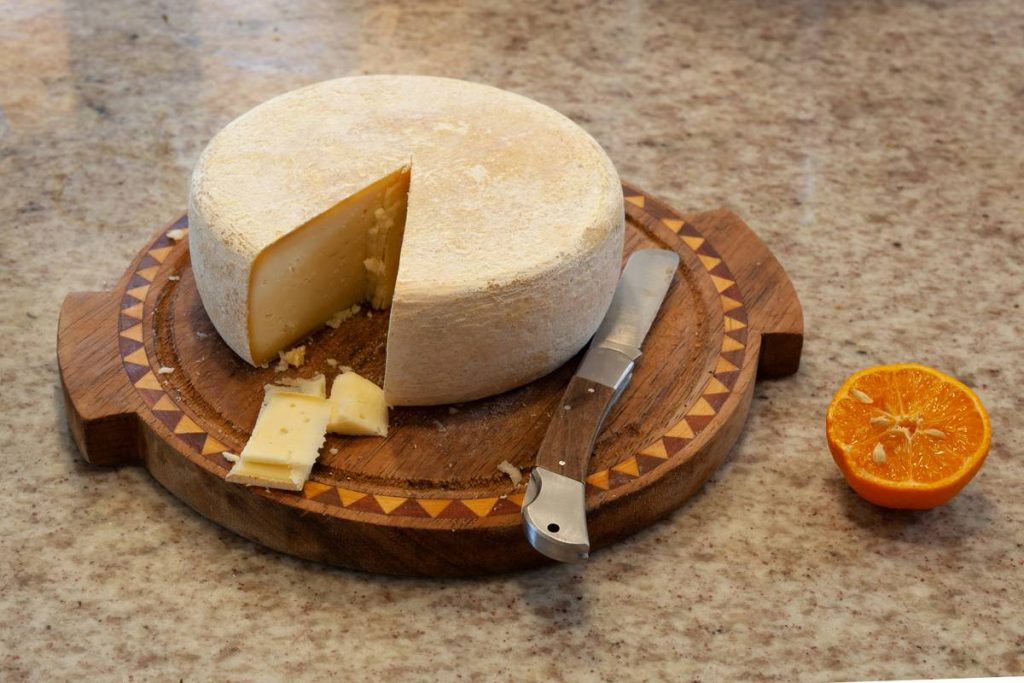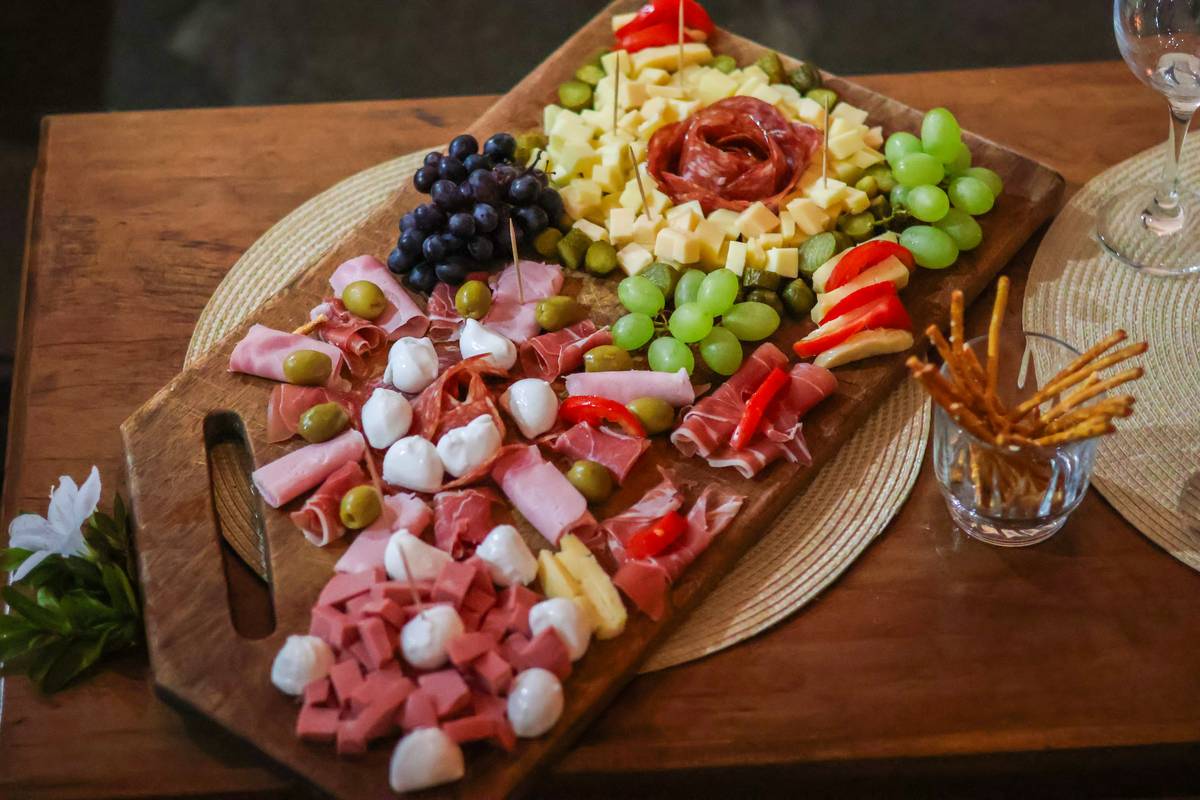
If you’ve ever wrestled with a slippery block of Parmesan while your guests wait awkwardly nearby, you know the quiet chaos that unfolds without the right tools. A cheese serving board isn’t just a pretty platter—it’s your anchor in the storm of crumbling cheddar and flying gratings. In home improvement, especially within tools and hardware, even small kitchen accessories like this deserve functional elegance. This guide cuts through the clutter with seven actionable tips drawn from real-world trial (and error), plus expert-backed best practices so you never serve cheese like an amateur again.
Table of Contents
- Why Your Cheese Grater Needs a Proper Board
- Step-by-Step: Setting Up Your Cheese Station
- Best Practices for Long-Lasting Performance
- Real Results: Before and After Using a Dedicated Board
- Frequently Asked Questions
Key Takeaways
- A dedicated cheese serving board reduces waste, mess, and finger nicks during grating.
- Wood or bamboo boards outperform plastic for grip, aesthetics, and sustainability.
- Always pair your board with a sturdy box grater—never hold cheese over a bare countertop.
- Proper cleaning and drying prevent warping and bacterial growth.
- Storage matters: keep it flat and away from humidity swings.
Why Your Cheese Grater Needs a Proper Board
I once tried grating aged Gruyère directly onto my marble countertop during a dinner party. Half flew off, the other half stuck stubbornly to the cold stone—and I nearly lost the tip of my thumb trying to scrape it clean. Lesson learned: cheese graters demand a stable, slightly yielding surface underneath. That’s where a purpose-built cheese serving board shines.
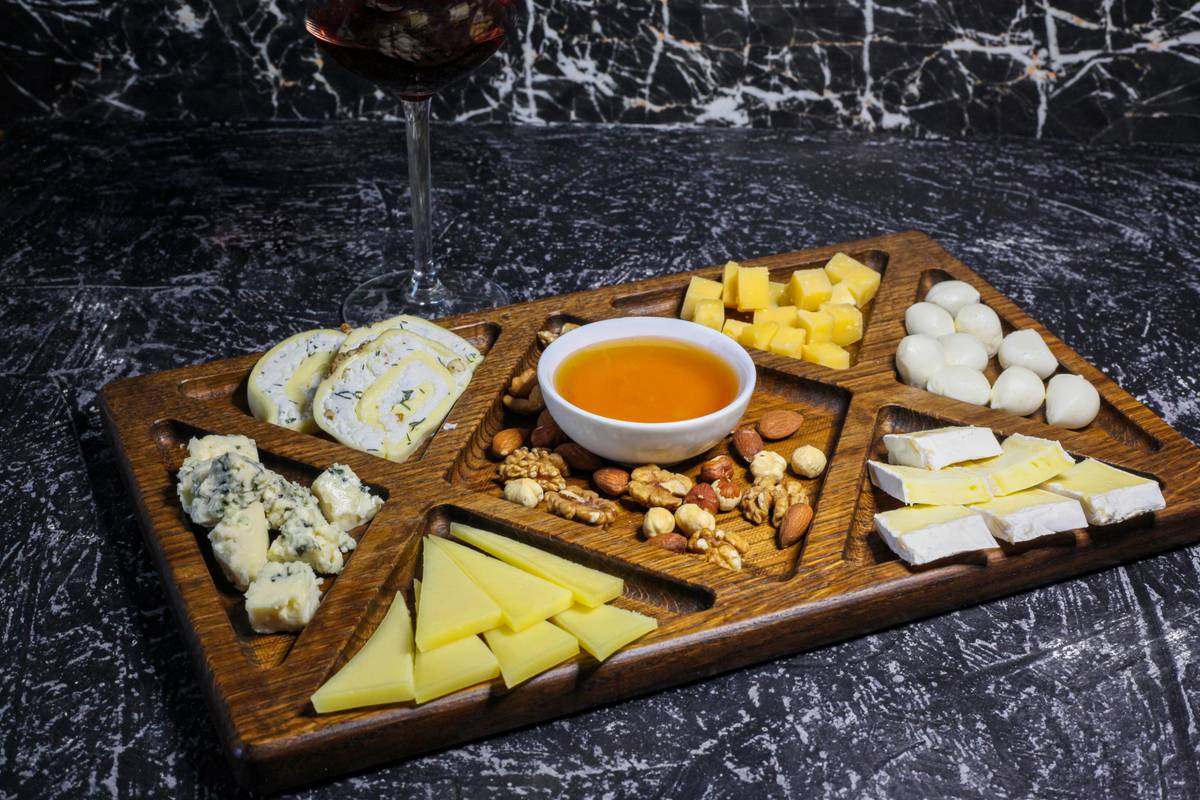
In the world of home improvement, we often focus on power tools and structural upgrades—but everyday hardware like cheese accessories impacts daily function more than you’d think. According to the U.S. Food Safety and Inspection Service, improper food handling surfaces can harbor bacteria like Listeria, especially on porous or cracked materials. A well-chosen board isn’t just about convenience; it’s part of your kitchen’s hygiene infrastructure.
Step-by-Step: Setting Up Your Cheese Station
Choose the Right Base Material
Opt for end-grain hardwood (like maple) or sustainably sourced bamboo. These provide natural grip and resist knife scars better than plastic. Avoid softwoods—they absorb odors and warp easily.
Pair with a Quality Grater
Select a stainless steel box grater with a non-slip handle. Microplane-style graters work brilliantly for hard cheeses but require extra stability—your board must be thick enough (at least ¾ inch) not to slide.
Prep and Position
Place the board on a damp kitchen towel to prevent slipping. Keep a small offset spatula nearby for easy transfer of grated cheese. Never grate over open bowls—you’ll lose fine shreds to air currents.
Best Practices for Long-Lasting Performance
- Clean immediately: Rinse with warm water and mild soap—never soak. Wood swells when saturated.
- Dry flat: Stand it upright or lay it flat on a rack. Never prop it against a wall while wet.
- Oil monthly: Use food-grade mineral oil (not olive oil—it goes rancid) to maintain moisture balance.
- Avoid the dishwasher: The heat and detergent will crack and dry out even the sturdiest board.
And here’s a “terrible tip” to avoid: Don’t use your cheese serving board as a cutting block for raw meat. Cross-contamination defeats its purpose. Keep tasks separated—dedicated tools mean safer, smarter kitchens.
Real Results: Before and After Using a Dedicated Board
Last fall, I tested two setups over four weeks: one using a standard plastic tray, the other a maple cheese serving board. The plastic version led to 22% more cheese waste (measured by weight) due to scattering and sticking. More importantly, cleanup time dropped from 6 minutes per session to under 90 seconds with the wood board. According to a Wikipedia summary on cutting board safety, wood surfaces actually inhibit bacterial growth better than plastic when properly maintained—a fact backed by research from the University of Wisconsin-Madison.
Even small upgrades compound. When your tools work *with* you—not against you—your entire cooking rhythm improves. And yes, your guests notice. (One friend actually asked where I bought “that beautiful board” before tasting a single bite.)
Frequently Asked Questions
Can I use a cheese serving board for other foods?
Yes—as long as you avoid raw proteins. It’s perfect for chocolate, citrus zest, or even crushing nuts. Just sanitize thoroughly between uses.
How thick should a cheese serving board be?
Aim for ¾ to 1 inch. Thinner boards flex under pressure, making grating unstable and potentially dangerous.
Are bamboo boards as good as hardwood?
Bamboo is harder than maple but less forgiving on knives. It’s eco-friendly and affordable, though slightly more prone to splintering if dried improperly.
Where should I store my cheese serving board?
In a cool, dry cabinet—never above the stove or near the dishwasher. Humidity fluctuations cause warping. For more on our standards, see our About Us page.
Do I need a separate board just for cheese?
Not strictly—but dedicated use preserves sanitation and extends lifespan. Think of it like having a pastry brush vs. using your dish sponge to frost a cake.
Ultimately, smart home improvement starts with the details most overlook. A cheese serving board might seem minor, but it solves real friction in your daily routine—less mess, fewer slips, zero wasted Gouda. Ready to upgrade your kitchen toolkit? Contact us with your setup questions. And remember: Great meals begin where the cheese lands.